Posted by Ronnie Humphries on 18 January, 2017
|
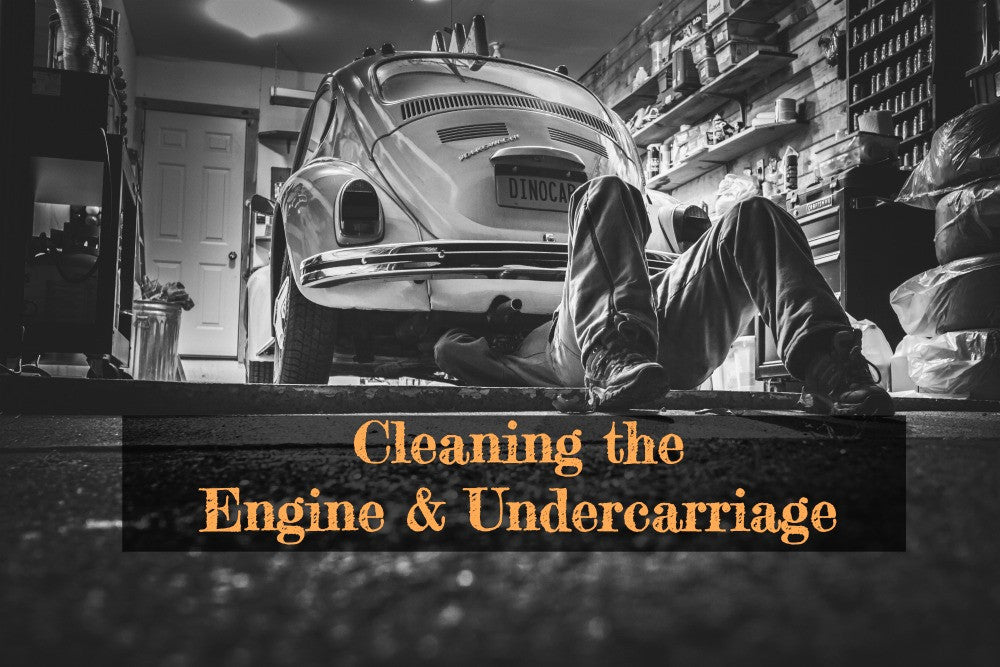
Why You Want to Clean the Engine Compartment and Undercarriage
You can definitely expect to find a good deal of dirt, grease, and grim in the engine compartment and on the undercarriage. The heat, fluids, and exposure to road elements all add up to a big mess when left unchecked. Keeping your engine compartment and undercarriage clean will help things run properly, while making it easier to check for any type of fluid leaks or malfunction.
We know this is the less desirable side of cleaning your vehicle, unless you have a showroom piece that sits around with its hood always up. But have no fear, we’ll get you through this while leaving your car’s nether regions in much better shape.
Engine Compartment
Prior to blasting your vehicle’s engine with a bunch of water and chemicals, it is best to go ahead and remove as much debris as possible with compressed air (a brush will work too if you don’t have a compressor). Once done, you can move on to the next step of protecting the electronics.
You’re going to want to cover up the sensitive areas (sensors, distributor, etc.) with some plastic baggies, held in place with rubber bands or tape. This will help to prevent water from fouling anything up. Once that is done you can begin the process of getting the motor compartment spick and span.
-
Apply engine degreaser, let sit for 3-5 minutes.
-
For heavy accumulation of grease and grime, use a brush to aid removal.
-
Rinse off degreaser with a controlled stream of water (watch those electronics).
-
Allow engine to dry thoroughly.
Pro Tip: The best temp to degrease and engine is warm to the touch, but not hot. Let the vehicle run for a minute or two, that will help loosen up the grease and grime.
Dress Up that Engine and Compartment
Now that your powerhouse is all cleaned up, you’ll want to keep those parts protected and looking sharp. There are a few options available, but to keep it simple you’ll be using a water-based dressing to spiffy it all up.
-
Apply dressing to plastic housings, wires, and hoses.
-
Wipe off any excess with a microfiber towel.
Pro Tip: To add a quick shine to the metal and painted surfaces, you can use an aerosol detailer like Platinum Shine.
Clean Your Car’s Bottom
Your car’s bottom often goes overlooked. Let’s face it, your gonna have to give your car’s bottom some needed attention. All that dirt, grime, and salt (hello friends to the North) from the road will wreak havoc when left unchecked.
Here’s the quick-and-dirty on how to get the dirty off your undercarriage.
-
Use a pressure washer to blast off any and all debris that has accumulated under your vehicle.
-
Thoroughly coat undercarriage with degreaser, let sit for several minutes.
-
Use a brush to clean any heavily accumulated areas.
Preserve and Protect Your Undercarriage
Once your vehicle’s undercarriage is clean and completely dry, you can begin the process of adding a layer of protection. The primary concern here is water. Your goal will be to help reduce the likelihood of rust and corrosion by treating your car’s undercarriage by creating a barrier against moisture.
Option one is applying a rubberized undercoat, or undercarriage paint, to any of the surfaces that are not related to the drivetrain (i.e. engine, transmission, exhaust). You’ll want to ensure that there is no grease or water on the surface that will be treated. The product works just like an aerosol paint, and adheres to the majority of materials that make up your car’s underside.
Option two is to simply treat the underside of your vehicle with a WD40 type solution. This will reduce the likelihood of rust and corrosion on all those parts closest to the toad. As with the rubberized coating, avoid spraying any parts that will heat up, which will burn off the oil and create a stink.
Troubleshooting Advice
Here are some common problems that we face when cleaning and detailing our engine compartments and undercarriages.
Oil, Grease, & Tar
This is almost a given when cleaning your vehicle’s nether parts. For the above, that wouldn’t move on with a pressure washer, you’ll want to give the following a go.
-
Soak the affected area with a solvent or uncut degreaser.
-
Solvents cannot be shipped, so pick them up from your local hardware store.
-
Agitate the greasy mess with a stiff brush, helping to lift off the grime.
-
Rinse and repeat as necessary . . . the pressure washer should be more effective now.
Pro Tip: Keep you clay bar clean by brushing it with a toothbrush under a stream of water to remove the contaminates. This will ensure your clay will keep living up to its potential.
Overspray from Rust Proofing or Rubberized Undercoat
We get it, you took our advice and applied a coating to your vehicle’s undercarriage to protect from the elements. But you got a little carried away, and now some of that coating is on the vehicle’s exterior paint. We applaud your effort, and have an easy solution to make things right again.
-
Break out your favorite Clay Magic
-
Make sure you use a quality lubricant while claying.
-
Rinse thoroughly and enjoy the fruit of your labor.
Engine Insulator Pad Looks Trashy
Being enclosed that close to the engine can put a ton of exposure wear on the insulator pad. For the cases that it looks trashy, but isn’t actually falling apart, we can add a little life back into it.
-
-
Choice #2: Apply an aerosol dye
Pro Tip: If you’re really feeling adventurous, you can remove the insulator pad and paint/dye it outside of the engine compartment.


Comments