9 Common Detail Questions Answered
1. The Difference Between Wash & Wax and Real Wax
Most wash & wax car shampoos work more on the “wash” side of things than on the “wax” side.
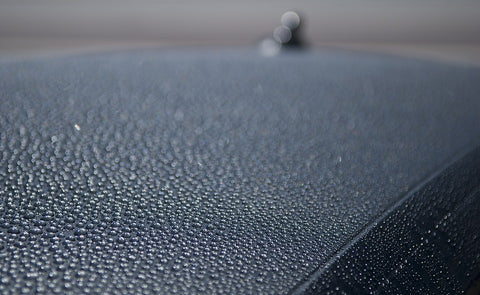
Generally, a wash & wax formula will contain a minimal amount of Diethanolamine or “amine”. This is a water-soluble chemical that aids in boosting the reflective/hydrophilic properties of the surface it is applied on.
Non-geeky Translation
Your paint should look a bit shinier after everything is all said and done.
Keep in mind that the purpose of waxing a vehicle is to add an extra layer of protection on the paint. This layer is primarily used to protect again UV damage and environmental contaminants.
If just using a was (even a wash n wax), you’ll be leaving your painted surface unprotected.
I would recommend a once-a-year treatment with a Polymer-based sealant. This will give that vehicle a nice shine, along with the peace of mind that it is ready to face the elements.
Follow-up your normal washes with a Quick Detailer, and that car vehicle will glow.
2. Easy Way to Wash a Vehicle in Temperatures Below Freezing
Please don’t go outside to wash your vehicle in freezing temperatures. You’ll likely end up with more of a mess than when you started. The freezing temps will seal your doors shut, keep the wash shampoo from being effective (may not even suds-up well), and you’ll definitely not be able to apply any form of wax or sealant.
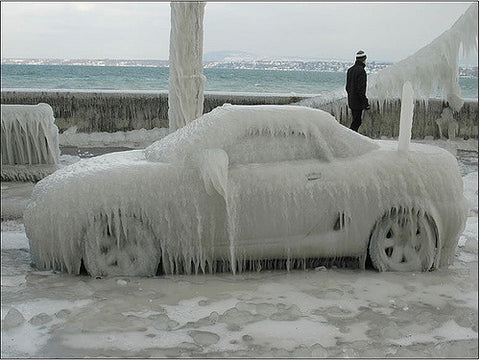
Instead
Get your car prepped before it is too cold outside, or find a way to wash it in a garage or warehouse where the temperature is above freezing.
Prepping your vehicle for the stormy, cold winter is something you want to plan for in advance. This is what we recommend: prepping your vehicle for winter.
I would recommend washing your vehicle just as you would outdoors, with the exception that you’ll try to use a minimal amount of water to get the job done . . . this will help clean up at the end.
To prep:
- Move anything off the garage floor that you don’t particularly want to get wet.
- Put some form of barrier in front of any interior doors, unless they have a raised threshold.
- Get all your wash essentials ready to go.
Wash your vehicle as you normally would.
Clean up:
- Open up the garage door and use a shop broom or floor squeegee to push out any of the pooling water.
- Dry mop any leftover water residue.
- Pat yourself on the back for a job well done.
3. My Car just got painted, now what
Typically, your vehicle paint should be dry within a few hours. But this is different from curing.
The color really isn’t an issue, but keep in mind a 2-stage paint job includes a second layer of protection via a clear coat.
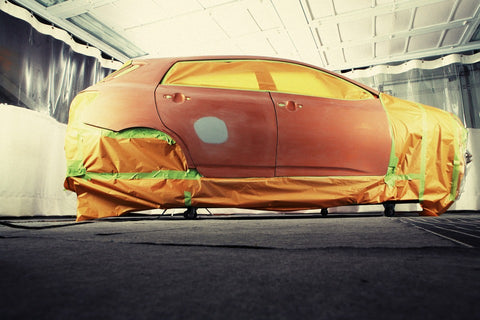
I think what most are looking for would be cure times. Most detailers and body shops will likely give you a 30–90 day “cure time”. This is the amount of time it takes for the paint to fully set and harden, giving your vehicle the full protective measures.
This 30 to 90-day period is also a time where you WILL NOT want to apply any other protective coating: wax, sealant, etc. The reasoning here is that you want the paint to be able to breathe, or gas-off any fumes from its application.
Now, you will be fine to wash the vehicle at this time (just don’t use a wash & wax type shampoo).
You may also elect to have paint correction via compound and polish during this waiting period. These abrasive compounds will clean up any of the paint imperfections, giving you that mirror finish. Just don’t follow this step up with a wax or sealant.
Once the curing time has passed, go crazy. I would recommend a polymer sealant, which will keep that finish protected for an entire year. Between washes, you can apply a quick detailer what will bolster the finish, while giving everything a nice shine.
Here’s a guide to properly protecting your vehicle’s finish year-round: Automotive UV Protection: Sunblock Your Car
4. Removing Glue from Paint & Glass
So, you got some glue on the pain, or windshield of your care. Well, there’s a solution for that.
Start out with denatured alcohol. Soak come into a rag and hold that on the glued area for a minute or two to soften things up. That should work it loose, then a little elbow grease will get you the rest of the way.
You can use a razor blade, as previously mentioned, but I wouldn’t recommend a metal one. They make plastic razorblades specifically for detail work, and that will ensure you don’t unexpectedly scratch anything.
You can also hit up a hardware store and grab some Goof Off and give that a try, following the same steps as above.
But what if it’s Gorilla Glue? Yep, also a solution.
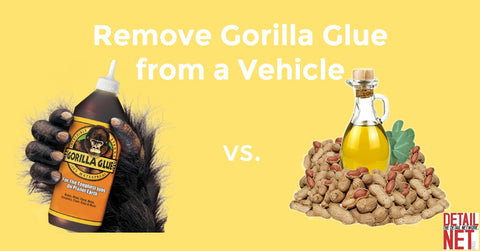
UPDATE: After digging a little more, and asking some chemistry buddies, it appears that Gorilla Glue doesn’t have a listed solvent. The manufacturer’s recommendation is to use peanut oil, which works surprisingly well.
5. Properly Vacuum Your Car
Keeping debris off the floorboard, seats, and fabric of your vehicle’s interior is more important than most think.
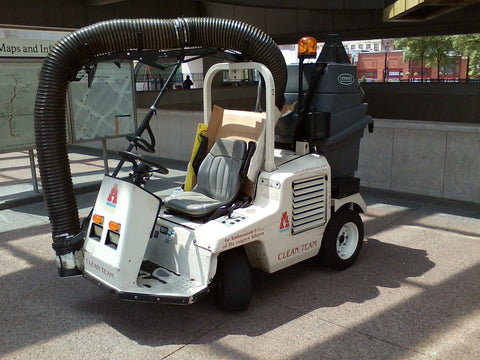
- It will keep the inside newer, and for longer. Dirt and debris will only add undue wear to the inside of the vehicle.
- Some of that gunk isn’t dirt, but remnants of food and other whatnot. This can not only leave behind an odor but poses as a breeding ground for bacteria.
- Keeping things clean inside will protect all those electronics from excessive dust and gunk build-up.
- Finally, you’ll take pride in the fact that you did a good job.
Let’s get started:
- Remove all trash that can be easily picked up and tossed in the trash. Use gloves if it’s that bad.
- Take out any floor mats, portable accessories, and/or car seats. These can be shaken out and vacuumed while outside of the vehicle.
- Vacuum it up. Use a front-to-back, or side-to-side motion. Overlapping often to ensure you got it all up.
- If you have some dried mud (or other dried substance) you’ll need to follow that vacuum with some form of mechanical agitation (brush or cloth).
- Don't add any liquids yet, just dry scrub the stuck-on stuff to loosen it up.
- Follow that with another pass of the vacuum and you should be in a better position to start adding product.
- If needed, use a fabric foam that can help pull up the remainder of that grime.
6. Best ways to remove Smell from a Vehicle
There are several ways to remove unwanted scents from a vehicle, it all really depends on what is causing the funk.
I wouldn’t bother with general car fragrances, as they will just overpower the scent for a time but won’t do anything to truly get rid of it.
The best way is to remove/neutralize the odor. There is a company (Auto Scents) that makes an Odor Bomb that will work for the run of the mill scents like food, dirty clothes, and whatnot.
Take it up a step with an enzyme-based odor eliminator. These work by breaking down the substance that is causing the smell. If you have a particular spot or spill that you know is the cause than these will work quite well.
On the extreme end, you can take it to a shop that offers an Ozone treatment. This is very effective but will run $100–300.
To do it yourself, I would suggest a product called Auto Vaccine. This is actually an odor neutralizer, as it uses chlorine gas to eliminate stubborn smells.
Again, this is for smells that are on the interior of the vehicle. To purge the interior, you’ll have to neutralize the odor, and the chlorine gas works wonders.
There is a sponge that you wet and insert the chemical packet. Turn the A/C on high, close up the windows, and let it work for the allotted time. Then, open the windows and doors and let that sucker air out.
Please do not place yourself in the vehicle while the product is working, that is bad.
7. Clean your Windows without leaving streaks
One of the best ways to keep the window from streaking is by using a clean, microfiber towel. Pair that with a quality glass cleaner and you should be good to go.
Most people mess up with a towel/rag that has some previous substance on it. Then they start cleaning the glass and smearing around whatever was on that rag.
Remember, if you plan on using the same glass cleaner on windows that are tinted, then you will want to stay away from formulas that contain ammonia. That’s a quick way to mess up your tint.
Also, ensure that you clean the glass after you apply a dressing on the dashboard. We’ve seen this happen so many times, where someone cleans their windshield and then sprays an Armor-All substance and gets splatter low on the glass. Clean the glass last.
After the glass is clean, you can add a protective coating that will help with fog and also remove any streaks left behind. Xtreme Shine works really well for this, and it can also be used for paint, chrome, and trim.
8. Water Based vs. Solvent Based Tire Dressing, what’s the difference?
Why do some tire dressings leave the tires extra shiny and we looking?
The easiest answer is that there are two types of tire dressings, water-based and solvent-based. The solvent-based dressings last much longer and look shinier than the typical water-based dressing that most people have at home.
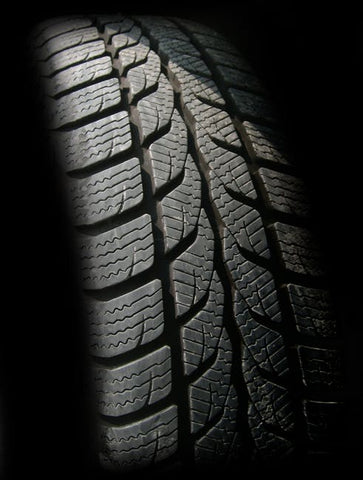
Water-Based Dressing
This is easily applied and will leave behind a clean, satin look. They are milky-white and contain natural oils, along with synthetic polymers which leave behind a UV coating and keep the tire moist. Expect them to last about a week or two, before they need to be reapplied. We recommend Super Dress It.
Solvent-Based Dressing
These dressings are going to be a bit thicker and will give the tire a wet, glossy finish. Because of the silicone-based delivery system (as opposed to water), they will also last longer and stand up better in harsh weather conditions. Check out our XP Cool Blue.
Once your tires are clean and dry, you want to ensure they last until the tread is gone . . . not until they dry-rot. This means you’ll be taking another step, which is to add a protective coating to your tires.
As with interior dressings and protectants, there are numerous choices. You want to ensure that the product you apply meets your desired needs and results.
Pro Tip: Don’t over-apply your tire dressing. Allow to sit for a few minutes, then wipe off any excess to prevent the product from ‘slinging’ onto the surrounding fenders.
Here's a post on how to properly Clean Your Tires, Polish Your Wheels.
9. Easy Steps to Restoring Faded Headlights
Headlight restoration is one of those things that people either love or they hate.
There are so many kits out there that claim to bring back a perfect finish but really are just scams. Doing it yourself is by far the best way to achieve the results you want.
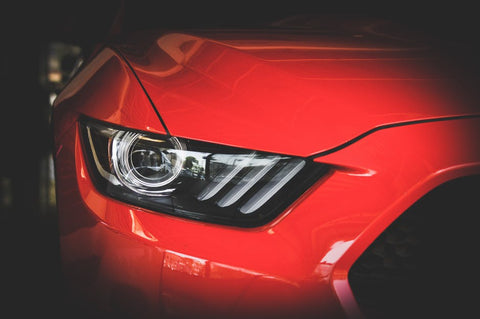
As long as you don’t mind a bit of elbow grease, you can bring back those faded and oxidized lenses in about 30 minutes.
Here we go
What you’ll need: 1000, 2000, & 3000 grit sandpaper (wet is best), some form of sealant (to protect from further degradation), optional polish (like a less aggressive rubbing compound).
Tape off the lights to keep the paint around your work area safe, you don’t want to end up sanding out some of your hood.
Start with the lower grit sandpaper, which will knock the bulk of the oxidation haze off. We recommend side-to-side sanding, followed by up-and-down to cover the entire headlight.
If wet-sanding, have a spray bottle with water and don’t be afraid to use it.
After the 1000 grit, you can then step down to the 2000 or 3000-grit depending on how things look. The 3000 will be the finest and really bring back the clarity of the headlight lens.
Optional: by hand or with a small orbital (even a drill with foam pad), you can apply a low abrasive polish to really make that lens sparkle.
Once the lens is sanded and polished, you’ll need to apply a sealant to protect the plastic from further oxidation and UV damage . . . otherwise, you’ll be doing this every few months.
We really like to use a Paint Sealant, as it is a polymer sealant that lasts for over a year. It goes on super easy and will protect all the hard work you just did.



Comments